Engine Overhaul - video 01
video series preview
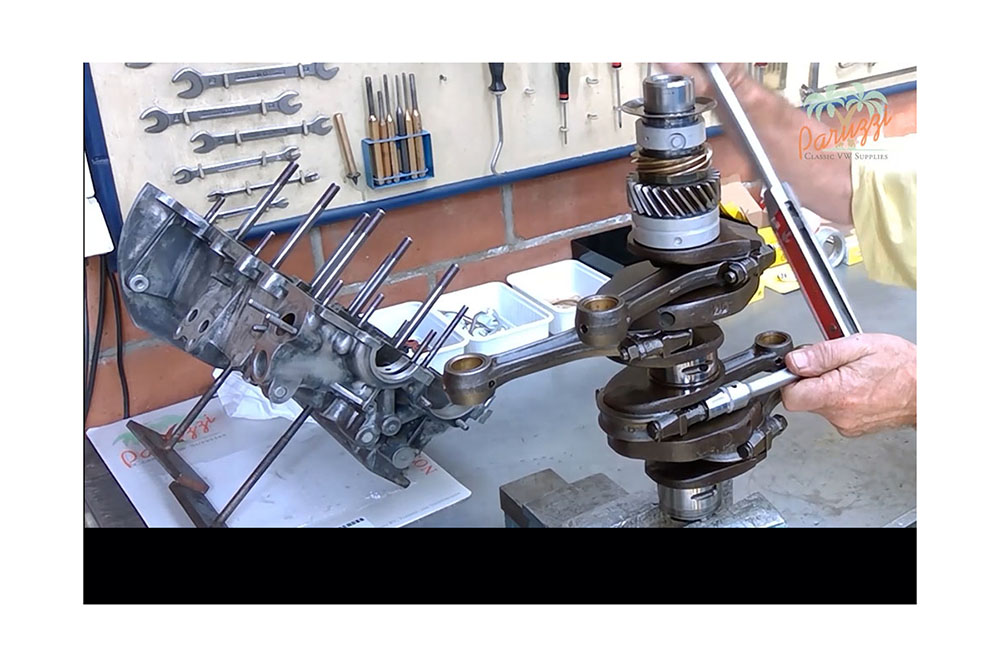
In this video, we will give an overview of the most important steps during the engine overhaul of a type 1 air-cooled Volkswagen engine. Each step will be discussed in a separate video. We will show special tools and even homemade tools to help the enthusiast perform their engine overhaul.
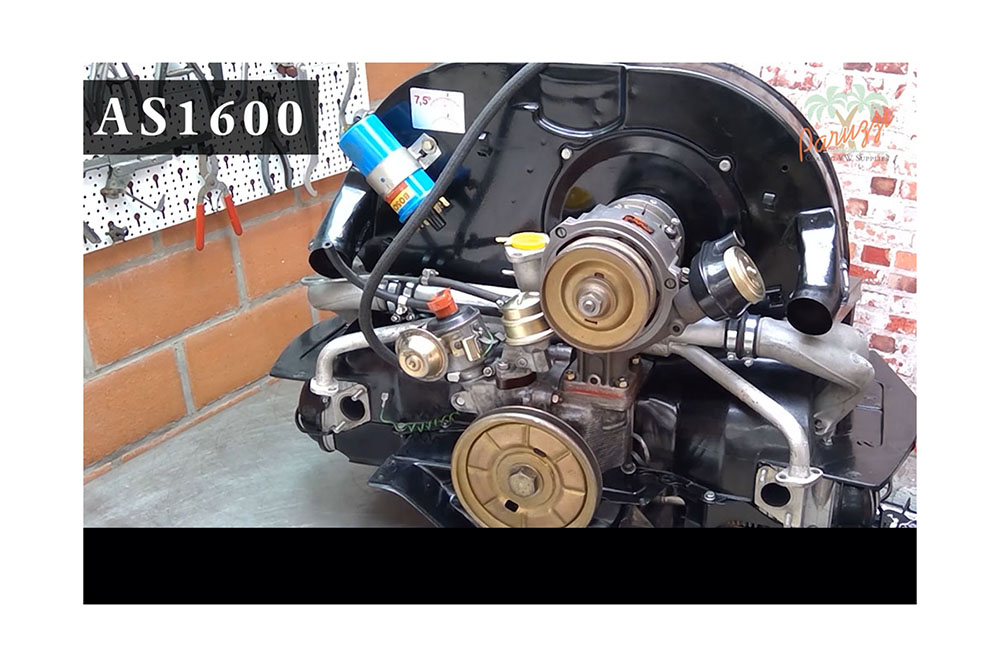
Engine Overhaul - video 02
overhauled engines

Engine overhaul - video 03
the workshop
We show in this video what the possibilities are to work on your VW engine. If you plan to overhaul several engines, then buying a professional engine stand is recommended. If you only want to overhaul the engine of your own classic Volkswagen, then buying special tools is not cost effective. We will show all options.

Engine overhaul - video 04
removing the distributor drive shaft
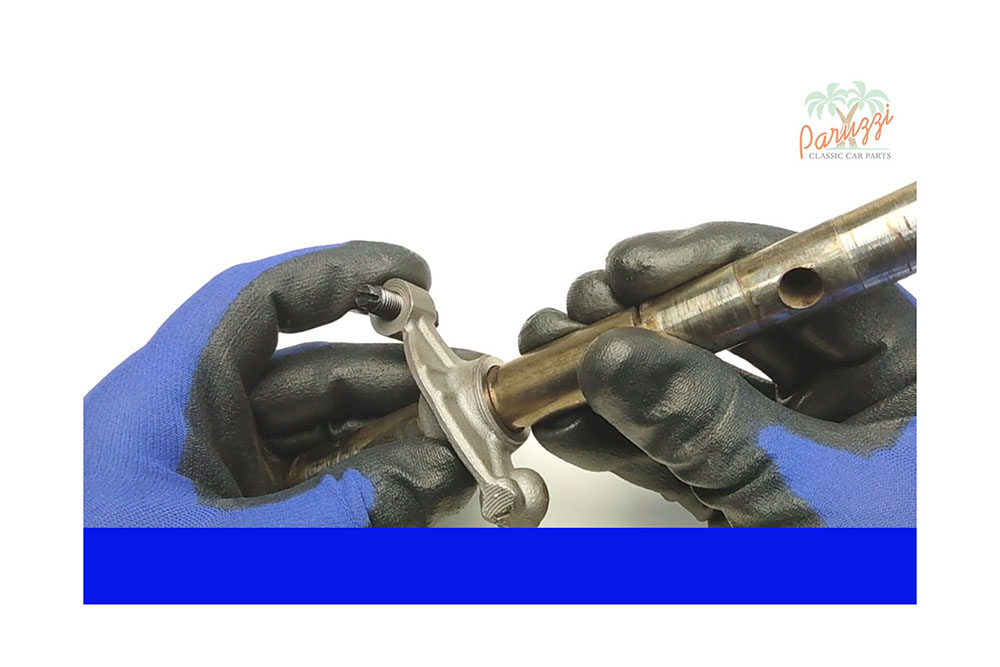
We want to give extra attention in this video to the position of the distributor drive shaft of the VW Type 1 engines, . If the drive shaft of the distributor is not correctly mounted during the engine overhaul, problems can arise later with the adjustment of the ignition timing. Disassembling the drive shaft is then the only solution.

Engine overhaul - video 05
install the distributor drive shaft
This is the continuation of video 04, we are now going to install the distributor drive shaft, both on an already rebuilt Volkswagen Type 1 engine and on a split Type 1 crankcase. We pay a lot of attention to the correct positioning of the drive shaft at the beginning of this video series, because it is crucial to be able to adjust the ignition properly, later, when the engine is overhauled.

Engine overhaul - video 06
find the TDC compression stroke
We will explain in this video how to determine the top dead center, as well as which of the two top dead center moments is this one from the compression stroke. This is important in order to properly position the distributor drive shaft. Properly understanding how a four-stroke engine works is essential when you begin an engine overhaul.

Engine overhaul - video 07
TDC compression in practice
In video six, we explained the operation of the four-stroke internal combustion engine through animations. In this video we will look at how to determine the top dead centre of cylinder 1 in practice. We will also learn how to find the compression stroke of cylinder 1, different techniques will be shown.

Engine overhaul - video 08
ignition time of cylinder 1
In this video we will determine the ignition timing of cylinder 1. This mark will be needed to correctly position the distributor drive shaft during assembly, as well as for ignition advance adjustment once the Type 1 Volkswagen engine is rebuilt.
Engine overhaul - video 09
the fuel pump
Engine overhaul - video 10
the crankshaft pulley
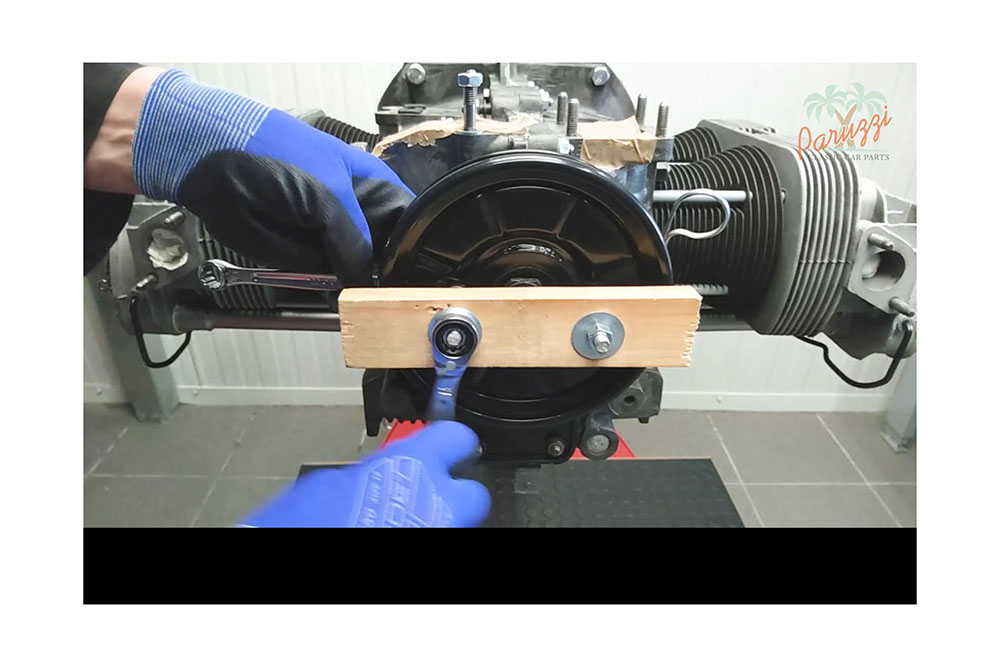
In this tenth video, we will show how to disassemble and reassemble the crankshaft pulley. We will use special tools for this, standard tools, as well as a homemade pulley puller. If you don't have the right tools and use the right technique, chances are you will warp the crankshaft pulley, you really don't want that. So watch this video carefully before you start this job.

Engine overhaul - video 11
the clutch
To disassemble the flywheel, you will need to loosen the gland nut, we discuss that in video 12. But first you will need to disassemble the clutch. You can do that when the engine is on the workbench, or hanging from an engine mount. In this video we show various techniques and tools to disassemble the clutch of your Type 1 Volkswagen engine without damage.

Engine overhaul - video 12
the flywheel
In this video, we'll explain how to disassemble and assemble the flywheel, and what tools you'll need to do so. To disassemble the flywheel, you will need to unscrew the gland nut. This nut is attached with a torque of 350 Nm, it will require some force to loosen.

Engine overhaul - video 13
replacing the crank seal
During a complete engine overhaul, you will need to replace the crank seal. But replacement may also be necessary, when you discover an oil leak behind the flywheel, which will impair the operation of the clutch. We show in this video how to disassemble and reassemble the crank seal.

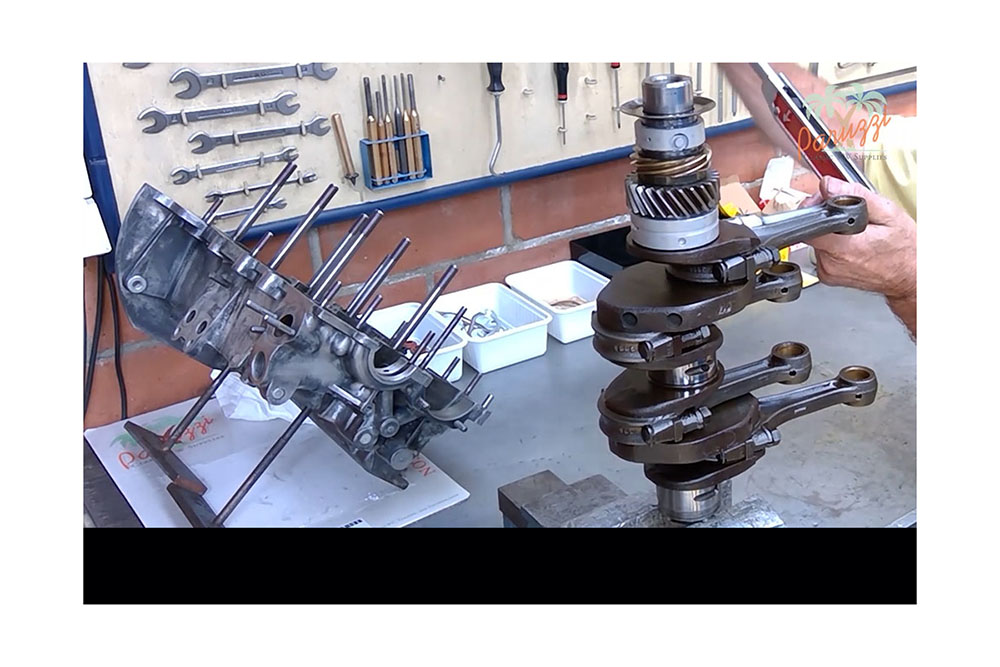
Engine diagnostics - video 01
crankshaft end play
In the first video of this new series, we will look at how to measure the crankshaft end play. Measuring the crankshaft end play, will help you estimate if your engine needs a total overhaul. If the result of the measurement is greater than or equal to 0.15 millimeters, then the crankshaft clearance is too large, and a total engine overhaul is recommended.

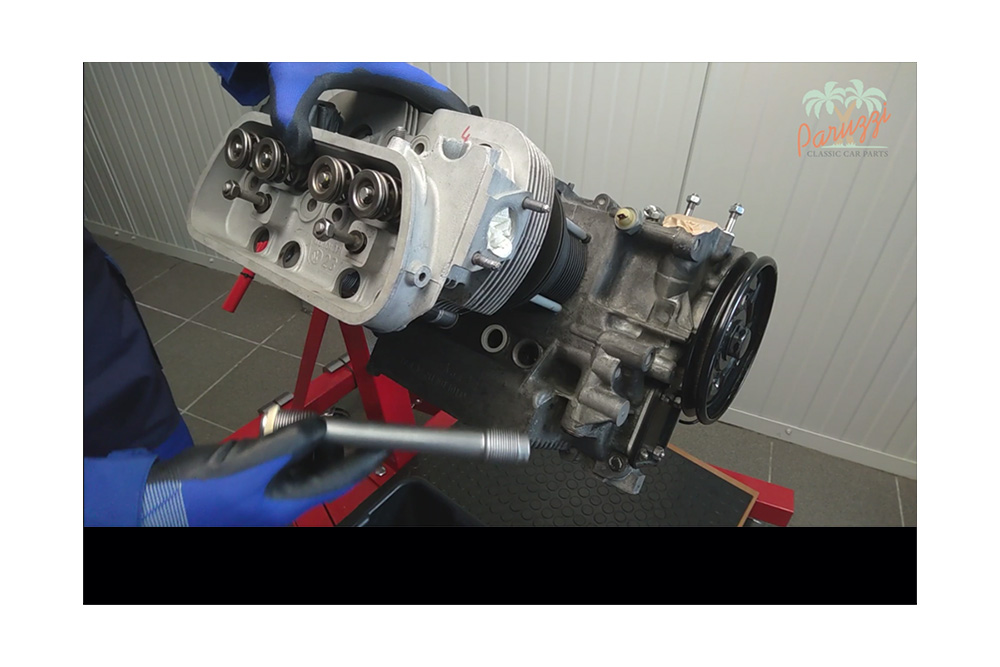
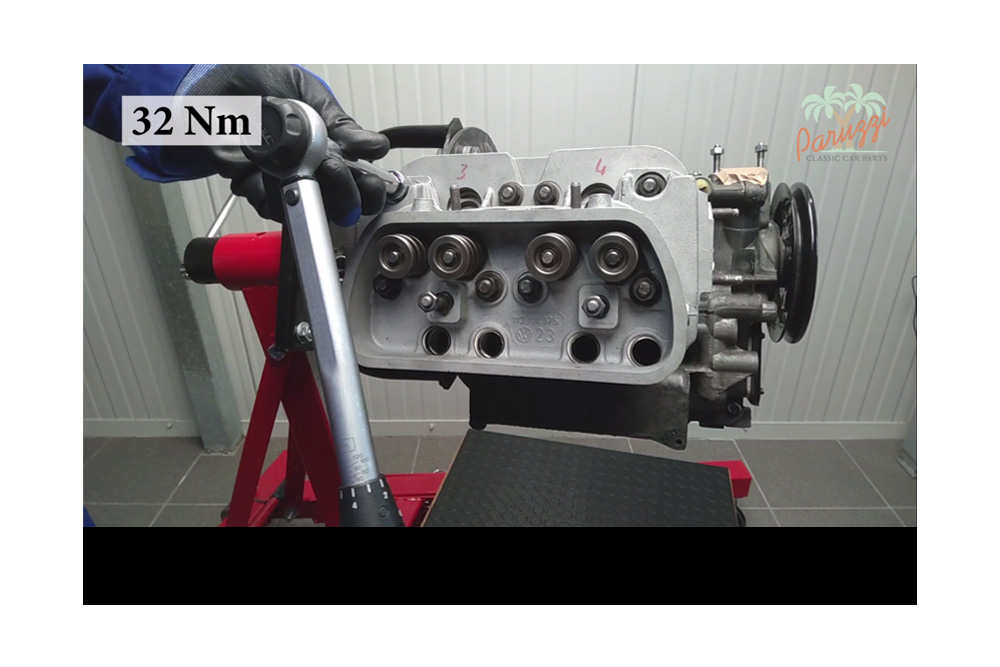
Engine overhaul - video 14
rockers and pushrods
In this video we will show how to disassemble and reassemble the rocker arms and pushrods. We will discuss the diagnosis of the rockers and pushrods in our other video series, which deals with engine diagnosis. How to adjust the rockers, an action also known as shimming, can be seen in our video series on engine adjustment.

Engine adjustment - video 01
valve clearance
The valve clearance is the first thing to check when adjusting an engine. If the valve clearance is not adjusted properly, then adjusting for example, the ignition, or the carburetor, will do little good. In this video we will show you how to adjust the valve clearance.
Engine diagnostics - video 02
rockers and rocker arm
In video fourteen of our engine overhaul video series, we disassembled and reassembled the rocker arms and rocker shaft. We will diagnose the rocker arms and rocker shaft in this video. Additional attention will be paid to the adjusting screws and adjusting nuts.

Engine diagnostics - video 02 BONUS
defective rockers arm parts
In video two of this series, we measured the rocker arm parts, and compared them to the wear limits listed by the VW workshop manual. In this video, we will show examples of rocker arm parts that are in less good condition than these of our AB 1300 engine from video two. This should help, to better diagnose the rocker arm parts.

Engine diagnostics - video 03
pushrods
In video fourteen of our series on engine overhaul, we disassembled and reassembled the rocker arms and pushrods. In this video, we will inspect the pushrods. The result of this diagnosis, will tell us if we can reinsert the pushrods, or if we need to replace them.

Engine adjustment - video 02
adjusting the rocker arms
In the first video of this series, we adjusted the valve clearance. In addition to the valve clearance, the position of the rocker arm relative to the valve stem, is also a very important setting. If a rocker arm is not positioned correctly, it can be adjusted, which is called shimming.

Engine overhaul - video 16 part 1
valves removal

Engine overhaul - video 16 part 2
valves removal

Engine diagnostics - video 04 part 1
valves and valve springs
In video 16 of the engine overhaul series, we disassembled the valves and valve springs. Not all of the cylinder heads we showed were in good condition, this does not mean that all parts need to be replaced. After a thorough diagnosis, it will show if the valves and valve springs are still reusable. This video discusses valve and valve spring diagnosis. It consists of four parts.

Engine diagnostics - video 04 part 2
valves and valve springs
In the second and third parts of this video, we will measure valve spring pressure. We begin in part 2 by measuring the valve spring pressure at open valve. Also known as the valve spring pressure at maximum valve lift. In part 3, we will measure the valve spring pressure at installed length.